Installing and Activating Ninja Forms Geolocation
Introduction
Installing Geolocation for Ninja Forms enhances your Ninja Forms with advanced location-based functionality, allowing you to capture addresses, display maps, and calculate distances seamlessly. Before using its powerful features, you'll need to install the plugin and activate your license key.
This guide walks you through the installation process and license activation, ensuring you get full access to features, updates, and support.
Note: While the plugin may continue working with an expired license, you’ll lose access to updates, premium features, and support.
Installing Geolocation for Ninja Forms: Step-by-Step Guide
Installing Geolocation for Ninja Forms is just like installing any other WordPress plugin. Follow these steps:
- Download the plugin as a ZIP file from your Account Page.
- Log in to your WordPress admin dashboard.
- Navigate to Plugins → Add New.
- Click Upload Plugin.
- Select the downloaded ZIP file and click Install Now.
- Once the installation is complete, click Activate Plugin.
Activating Your License Key
After installation, activate your license to unlock premium features, updates, and support.
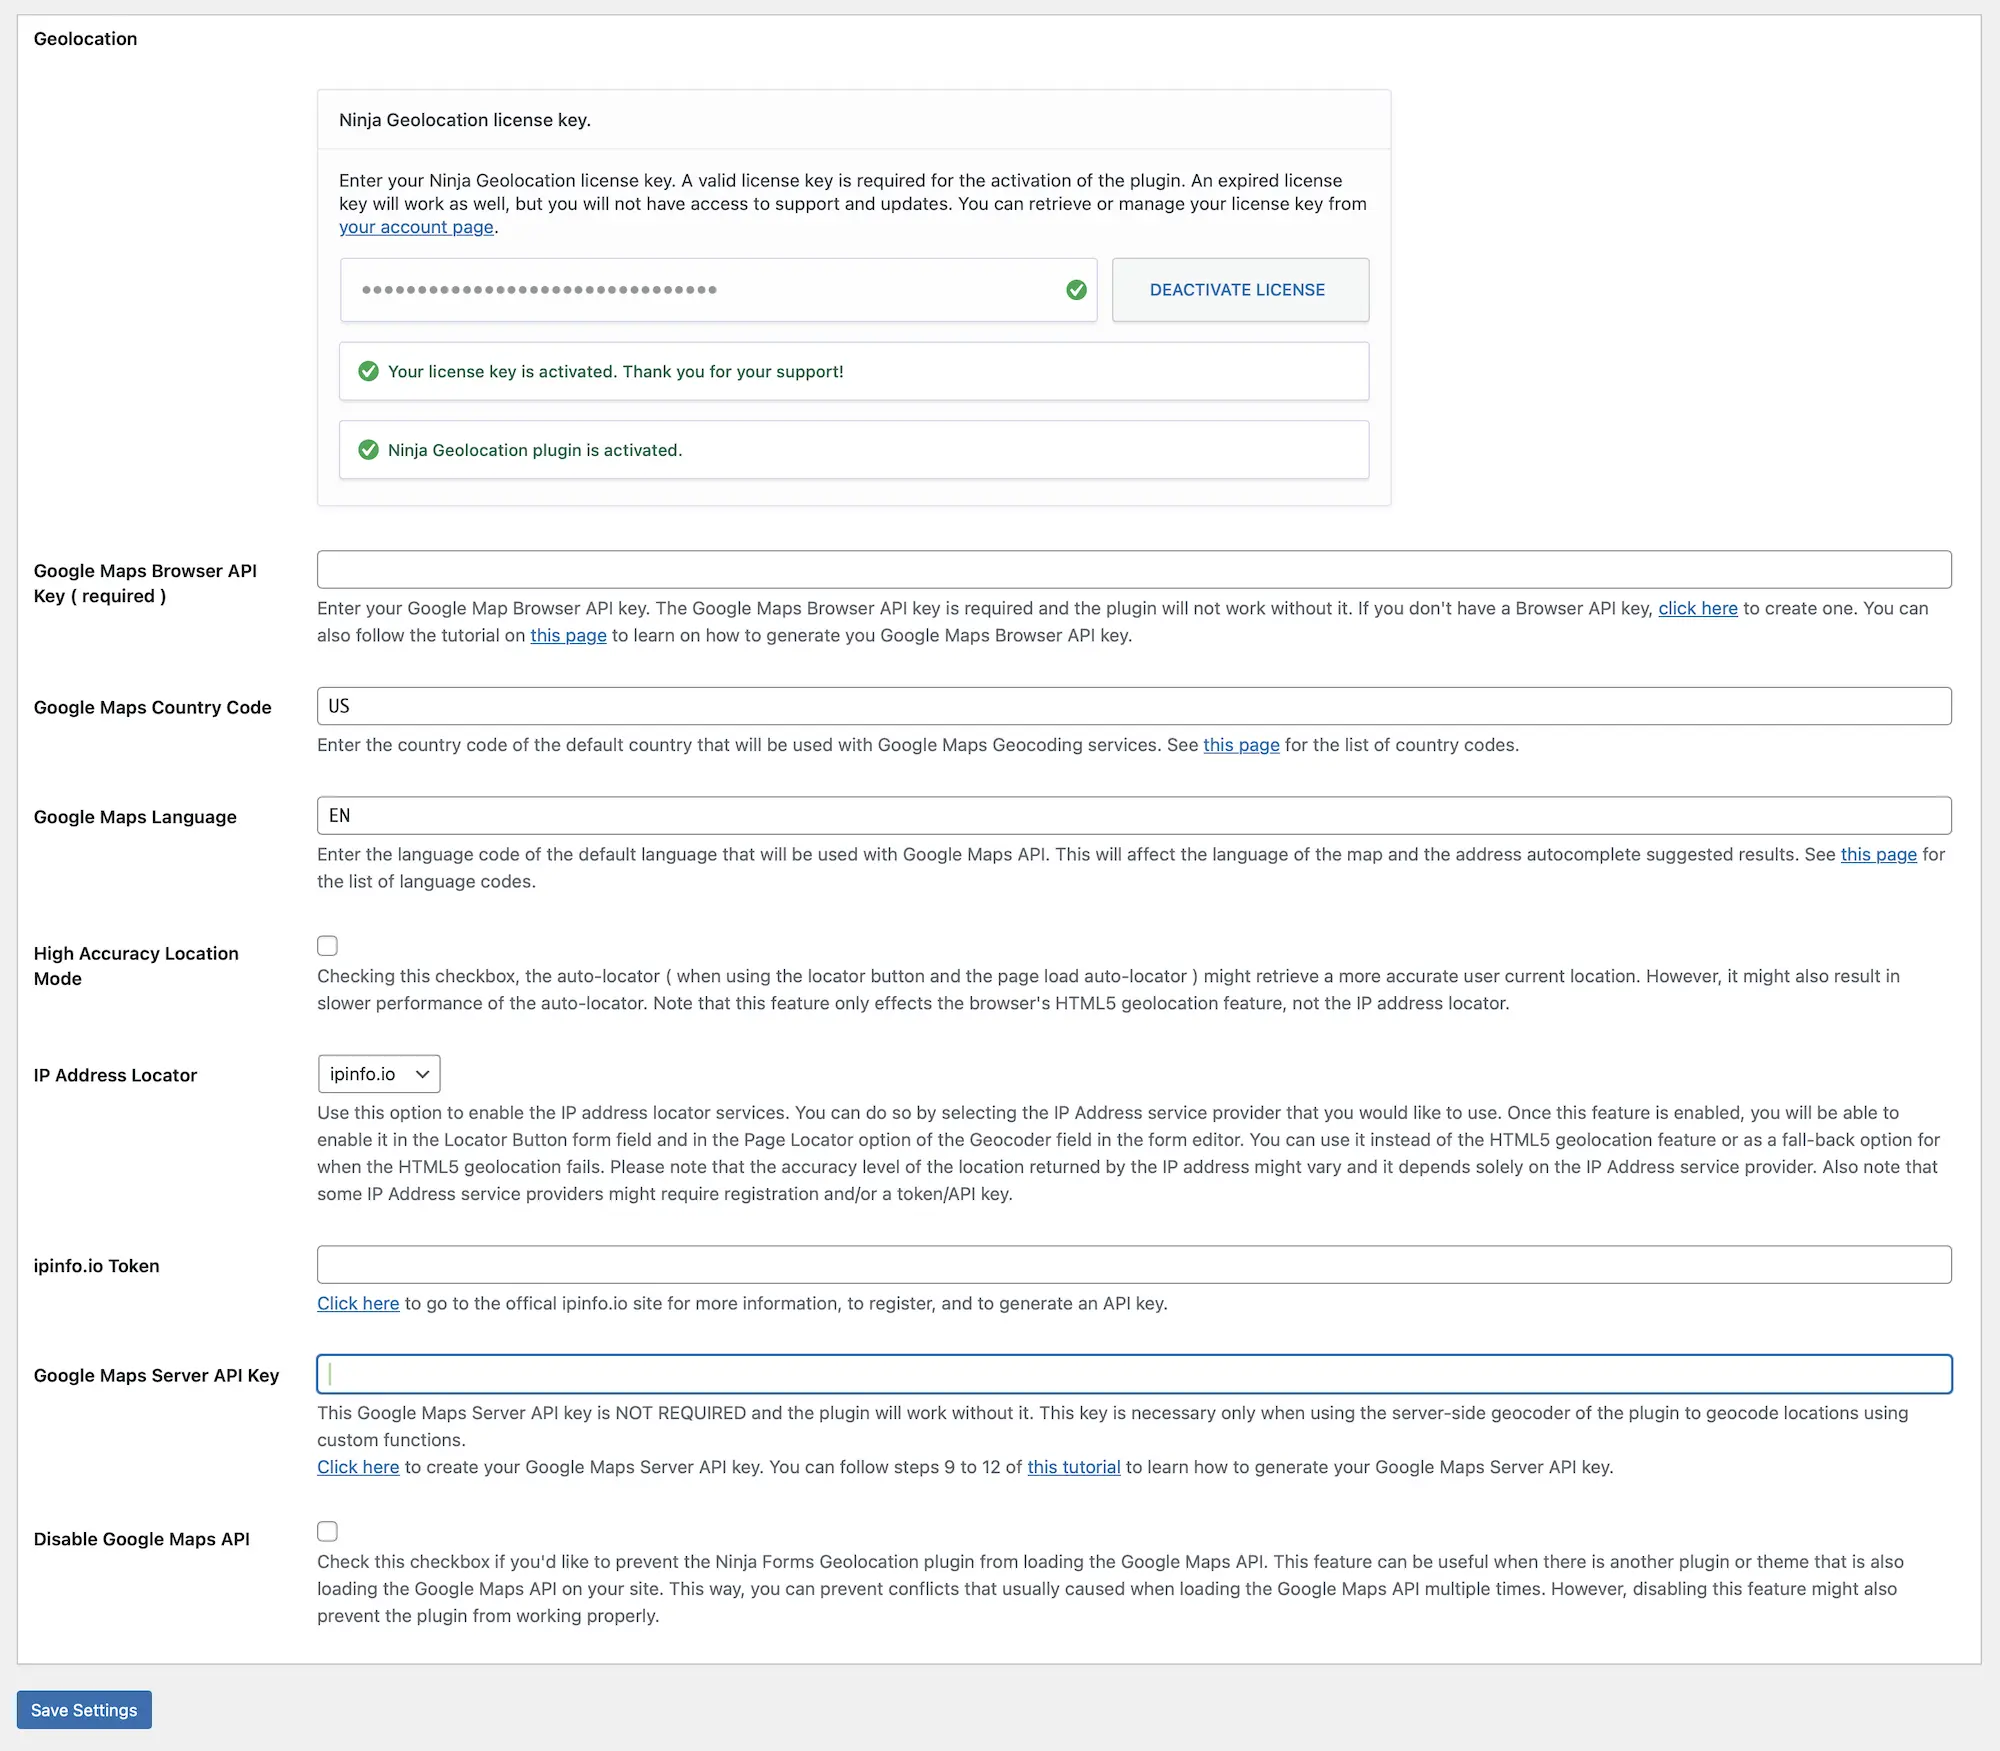
- Navigate to the Geolocation tab in Ninja Forms settings:
Dashboard → Ninja Forms → Settings → Geolocation. - Enter your license key in the designated field.
- Your license key is in your purchase receipt email and also available in your Account Page.
- Don't have a license? Get one here!. - Click Verify Key.
Once activated, a confirmation message will appear, and your plugin is ready to use.
Next Steps
Now that your license is active, you can start using Geolocation for Ninja Forms to create dynamic, location-aware forms. Configure settings such as default map behavior, auto-location detection, and address formatting. Visit the plugin settings page for setup instructions.